10 Do’s and Don’ts of RRFBs: Your Ultimate Guide
Below you will find the top 10 “do’s and don’ts” of using Rectangular Rapid Flashing Beacons, based on what we see working with municipalities every day on RRFB applications.
If you have a location where RRFB solutions are being considered please reach out! We would love to review your plans and ideas. Be sure to refer to the MUTCD 11th Edition, Chapter 4L for the official standards in the use of RRFBs.
Below is a comprehensive list of RRFB best practices:
1. Use RRFBs only at uncontrolled marked crosswalks
RRFBs are only to be used at crosswalks with pavement markings and signs where vehicles don’t have a stop control. The most common application is where the minor legs have stop signs and the major legs are through lanes. RRFBs can also be used at mid-block locations.
2. Install the RRFB on pedestrian, school, or trail signs, along with down arrow signs
RRFBs must be mounted below the W11-2 Pedestrian, S1-1 School, or W11-15 Trail crossing sign, and above the W16-7P down arrow sign. In Canada the RRFB lightbar is typically mounted above the RA-5 Pedestrian sign, and there is no down arrow.
3. Have RRFBs on both the left and right sides of the crosswalk
For a typical two-way roadway there is a pole on each side of the crosswalk, each with two RRFB lightbars mounted back-to-back. Placing RRFBs on both the left and right side frames the crosswalk and is therefore considered safe for pedestrians as it is more visible to drivers.
4. Signs must also be on both the left and right sides of the crosswalk
The MUTCD requires that pedestrian, school, or trail sign be installed on both the left and right sides of the crosswalk. The signs are typically mounted back-to-back like the lightbars are. This is different from using merely static signs at a crosswalk, where there is typically only a single sign facing oncoming traffic on the right side.
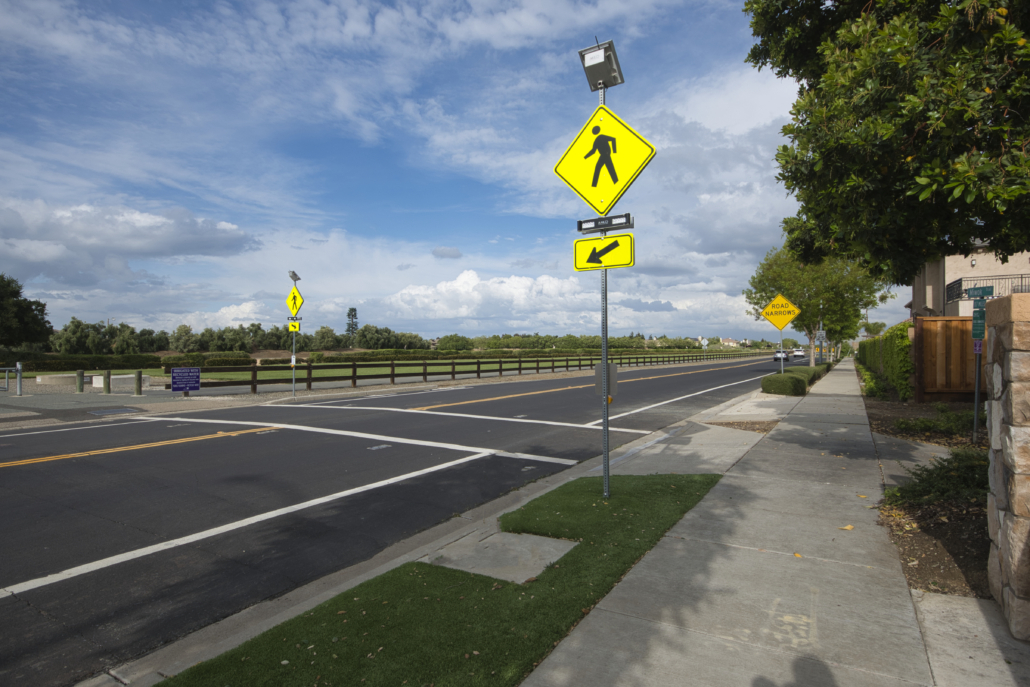
Incorrect Placement 🆇
This location is missing the signs that need to be on the left and right hand side along with the RRFB lightbars. In addition, the lightbar should be mounted between the School sign and the down-arrow sign.
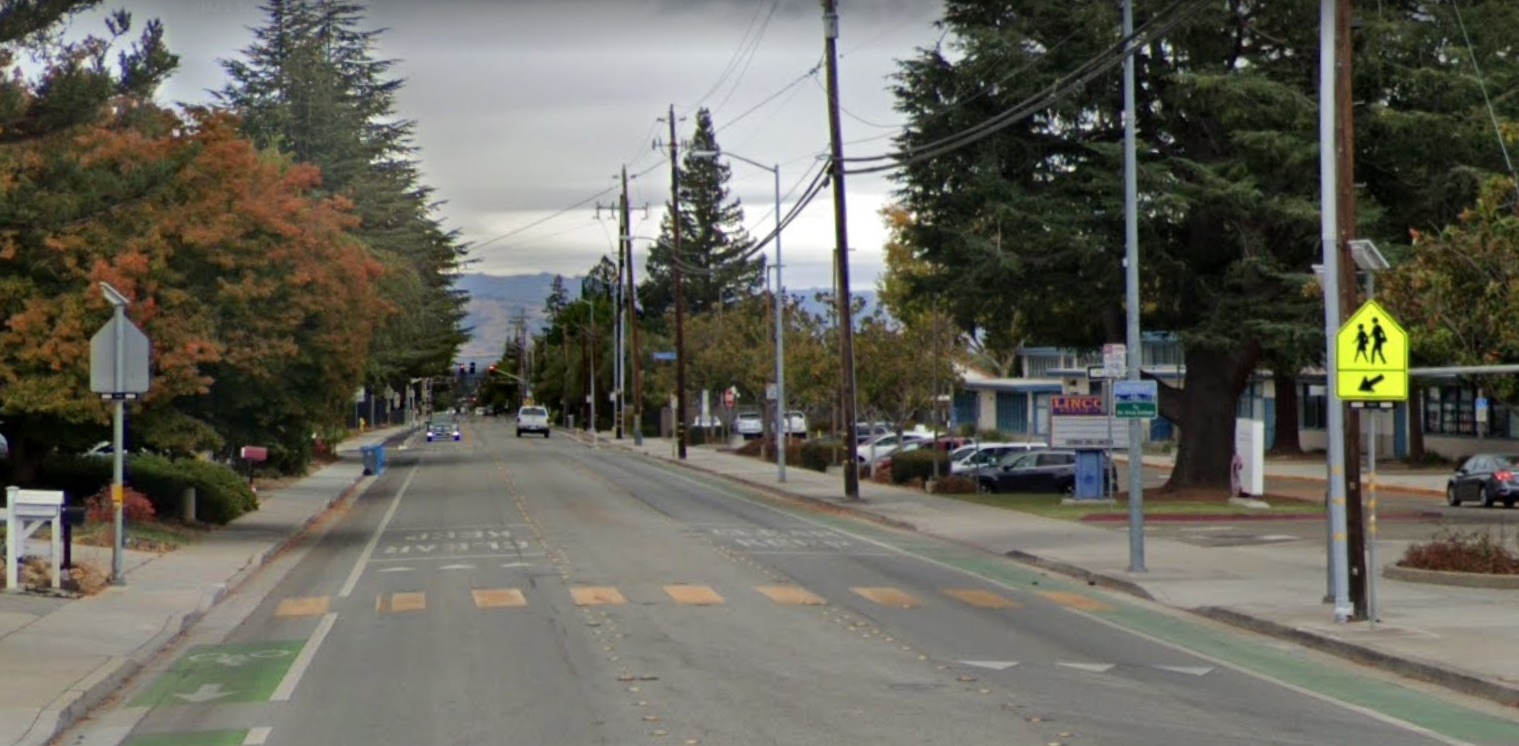
Correct Placement ✅
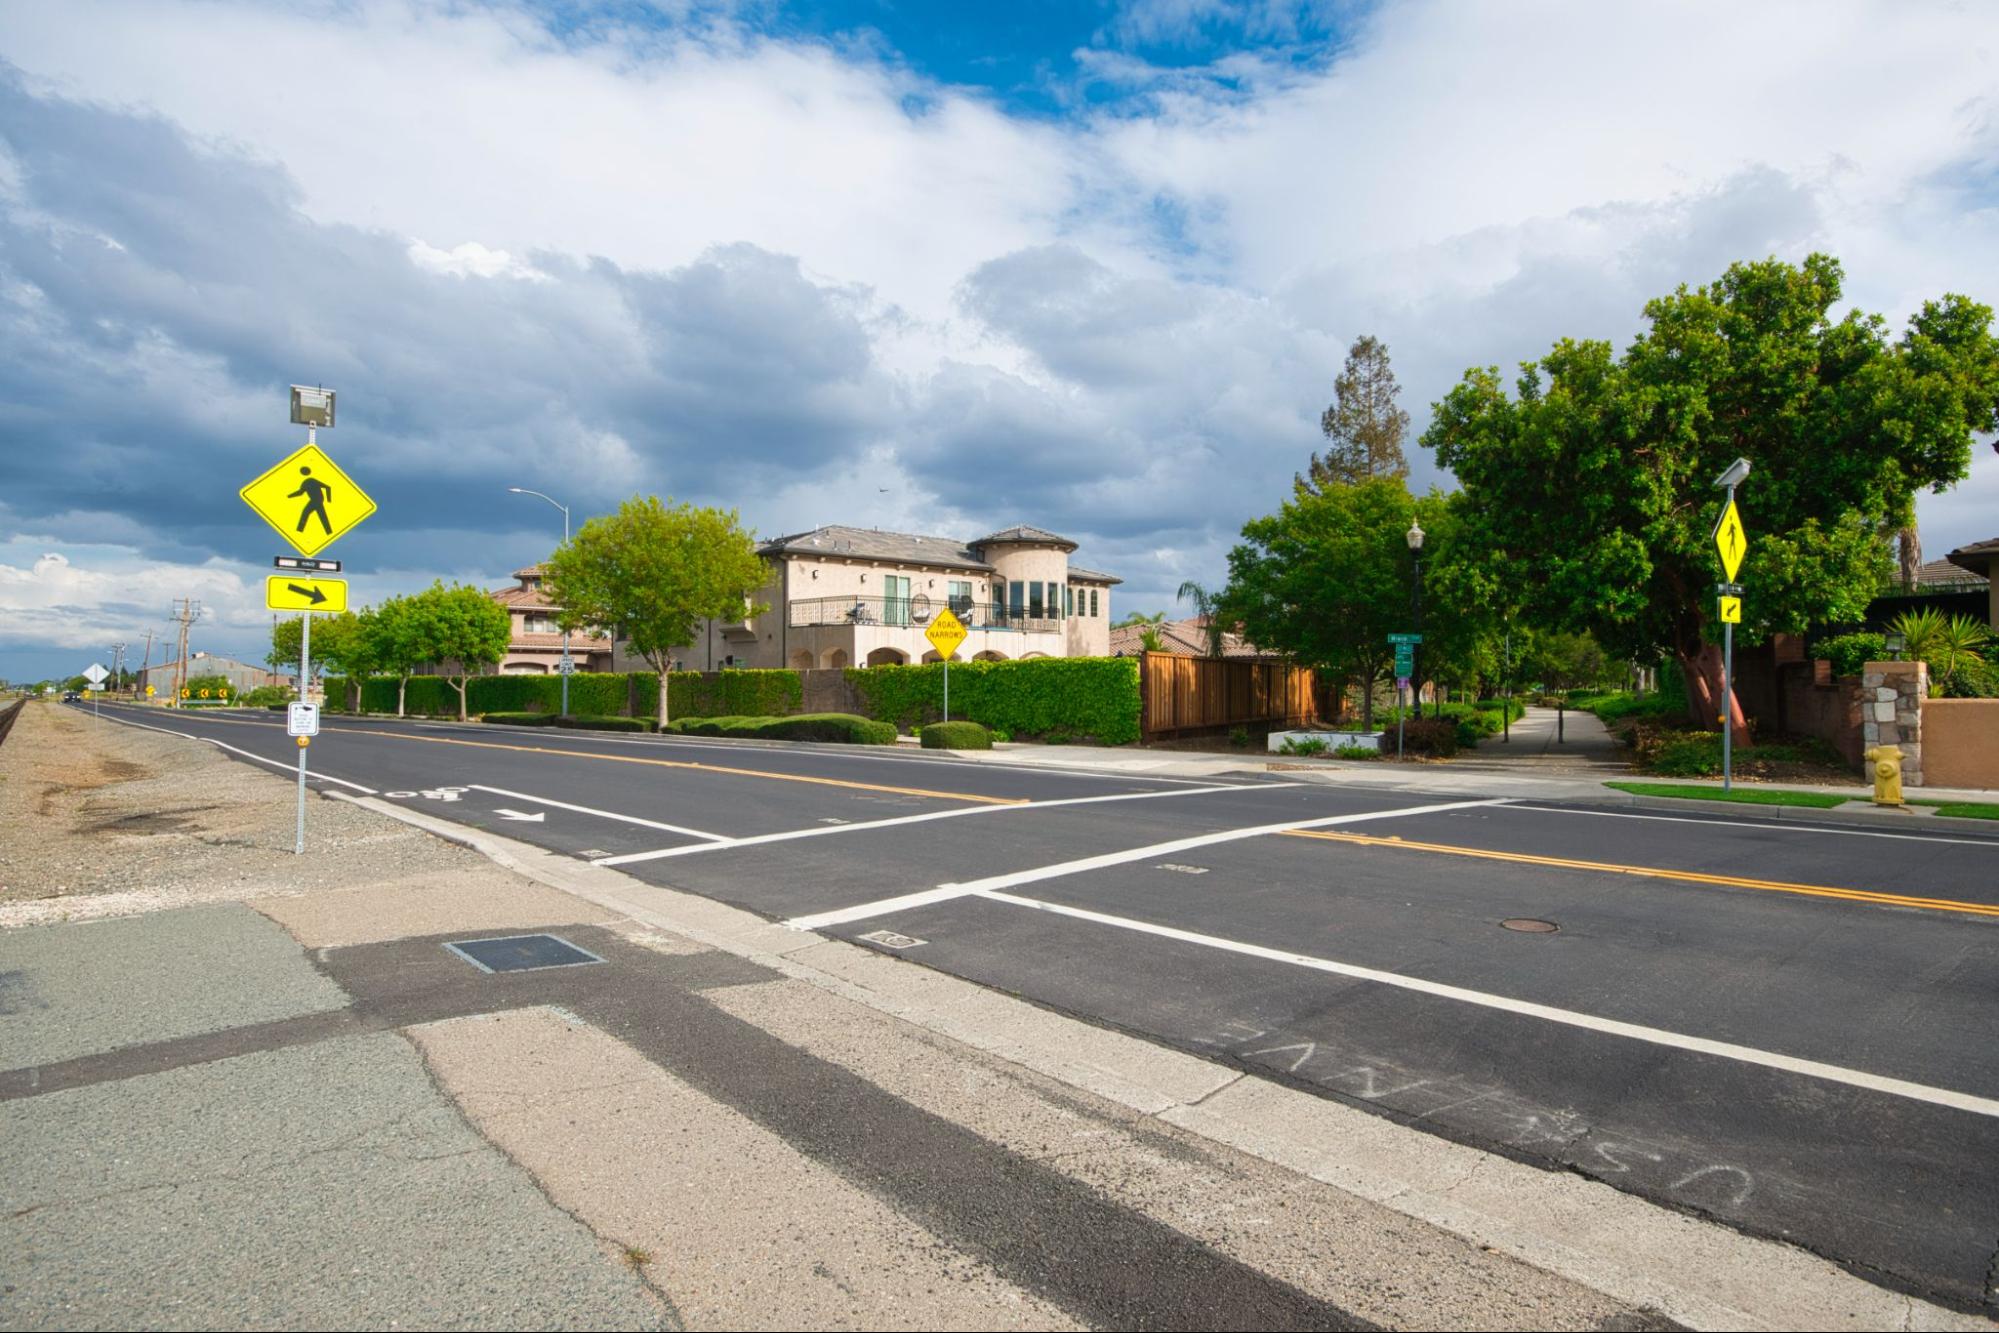
This location has the correct RRFB lightbar and sign placement. Signs and lightbars are on both the left and right sides of the crosswalk for each approach.
5. Where there is a median, the left RRFB unit goes on the island
The set-up with a median island typically has single-sided light bars on the sides, and the median will have either:
a. one pole with dual back-to-back light bars, or
b. two poles with single sided light bars.
This provides the left and right ‘framing’ and, with the left unit in the middle of the roadway, it is very effective.
See the diagram on our resources page for a median island example of RRFB placement.
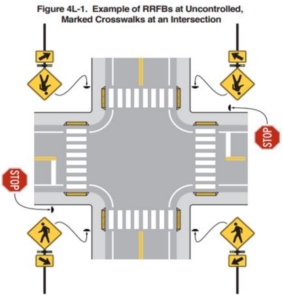
6. Where there are parallel crosswalks, a set of one-sided RRFBs should be placed on each crosswalk for maximum safety
Parallel crosswalks are important for serving pedestrians and cyclists who may be crossing a through road from both approaches. Single-sided RRFBs are used in each corner and when any button is pressed all four systems flash.
The diagram below is from page 737, Chapter 4L in the 11th Edition of the MUTCD from December 2023.
7. RRFBs can also go on overhead mast-arms – instead of just being post-mounted
If an overhead mast-arm is present over a pedestrian crosswalk, a minimum of one RRFB in each direction overhead is required. Typically, there are two RRFBs mounted overhead in each direction – and additional RRFBs can be post mounted as well.
8. Additional RRFBs can be mounted in advance of the units at the crosswalk
RRFBs can be installed in advance of the crosswalk with the pedestrian/school/trail sign along with the Ahead or Distance plaque. Advanced RRFBs are supplemental to and not a replacement for the RRFBs at the crosswalk.
9. Rapid flashing beacons must only flash when activated by a pedestrian
RRFBs are to remain in the off state until activated by a pedestrian, and once activated are to flash for a predetermined time (typically 20-30 seconds). The flash duration is to be based on the same procedures for the timing of pedestrian clearance times for pedestrian signals.
10. The RRFB indications on both sides of the crosswalk must all flash immediately, with no delay, and all turn off together
RRFBs must all start flashing immediately when the button is pressed, with no delay. If the button is pressed again during the flash sequence the flash time resets.
We hope that you have learned some valuable information on RRFB implementation and best practices in this post. If you are looking to increase pedestrian safety in your city please feel free to reach out to us. Together we can walk through your idea and find the perfect options for your project.

